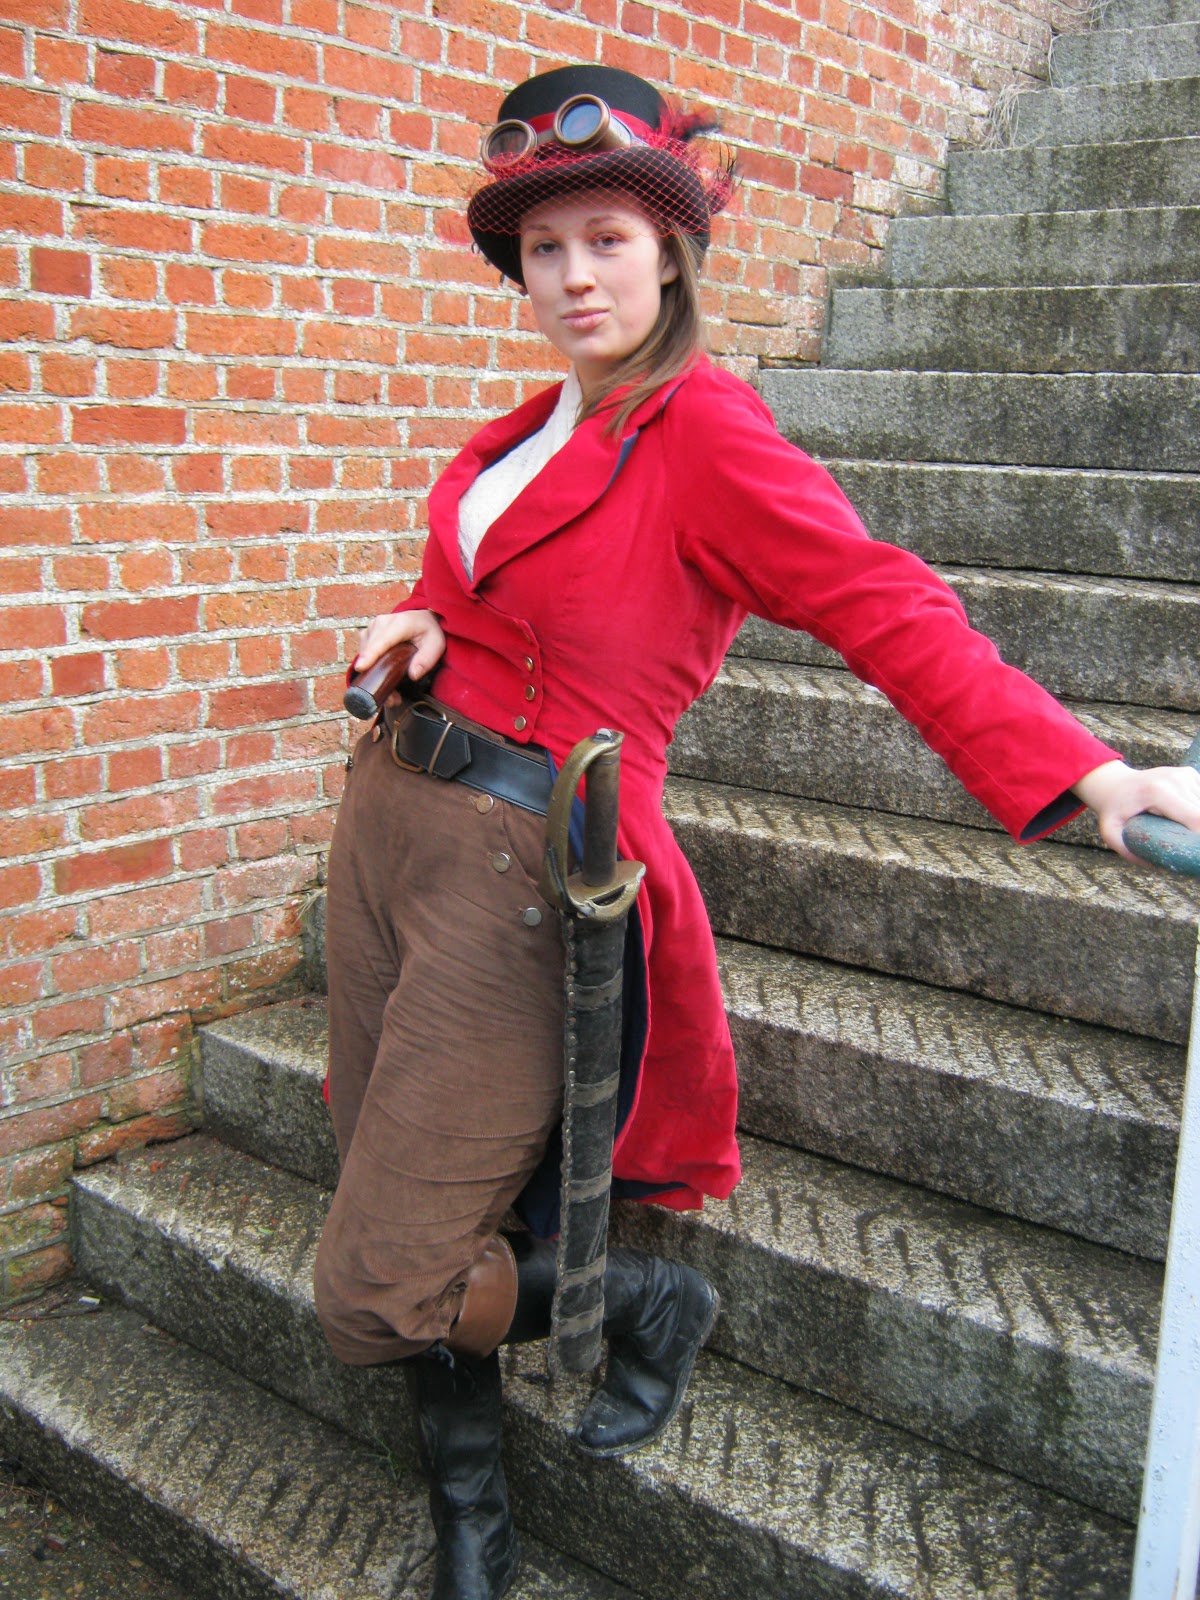
I realise that I failed fairly spectacularly to get this blog off the ground last year, mainly due to being too busy sewing to write about it! While that's not likely to change drastically, I do have some big plans for this blog and plenty of new kit made and being made to write about.Starting as I mean to go on I present one of my biggest achievements of last year - a regency inspired tailcoat for a steampunk event I went to.
My character is a Dirigible captain and so I wanted a practical, masculine outfit to reflect that. I decided that trousers and a tailcoat based on a 'ringmaster' theme would be the best bet and started my hunt. Since women didn't wear tailcoats as such there weren't any patterns available. Instead, I looked for a waistcoat pattern and fortunately found a perfect one with a collar already drafted.
I made a toile, mainly because I wanted to mess around a lot with the pattern. On the two front pieces I extended the centre fronts by about 4 inches each , guessing at how far they needed to extend. With the back and side pieces I added plenty of length, after measuring from waist to knee to get an idea how much we needed.
The sides got less added as I knew I wanted to grade in from the back to the front. Once I'd made the toile I used a marker to draw on more details of the fit and shape, including raising the waist significantly to give it more of the look of a Spencer jacket.
I then transferred the changes to the pattern, and cut the pieces out of my red velvet fabric, and navy cotton for the lining
I used a men's regency pattern for sleeves, since regency period sleeves are curved, and cut in two pieces.
I added 4 brass buttons on each side to give it a nicely military feel. When I was sewing up the side back seams I used D-ring tape on each side so that I could cinch in the waist.
The trousers were just based on some high waisted trousers I had a pattern for. I then just narrowed the leg and shortened the length. The waist is a genuine drop front which was done more through blind luck than anything scientific. I just curved them in towards the centre front, added 2 side panels and buttoned them up. The cord was a nightmare to work with, and the back of the trousers is a but shapeless but I'm please with how they turned out. The cuffs at the knee have a button closing them too.
The event itself was a Regency Steampunk LARP, which took place in the tunnels under a Napoleonic fort on the south coast, and was amazing. I was very pleased I went with something warm and practical, as it was cold and there was lots of fighting the French to be done. I am looking forwards to making a nice regency dress for the next one though!


WOW! It all looks amazing! I may be picking your brains at some point as I'm making a Victorian steampunk dress for an event in Feb (eeek!), I just hope it turns out looking half as good!
ReplyDeletewow! love your outfit. Its fabulous.
ReplyDelete